You would like to create a Power BI Report but not every user should see everything? Copying & sharing the report with individuals would be tough to maintain but not sure which other opportunities do you have? Row-Level-Security could be the answer!
In my first post I would like to demonstrate how easy a Row-Level-Security can be implemented.
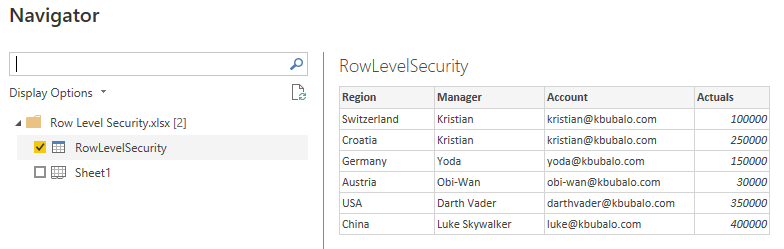
First things first: I created a simple Excel Sheet which has different Regions, Managers, their internal mail and actuals for each region.

I open my Power BI Desktop and connect to the excel file.

In this demo I renamed my table inside Excel to “RowLevelSecurity” so I select it and hit load.
Now, I have connected to my Excel file and imported the data. As next step I would like to see which user is signed in to create a Row-Level-Security in a second step. I have now two options to do so:
- Create a measure with the user name
- Pass the function to call the user name directly in the role management
In my scenario I would like to create a measure. So I select “New Measure” in the Start Ribbon.

Now I can create a new Measure in which I can use DAX expressions. I find it also immediately in my table.

Because “Measure” is not an appropriate name I rename it to “User” and set it equal to USERPRINCIPALNAME. As soon as I start to type Power BI will recommend all functions which starts with “User”. After selecting USERPRINCIPALNAME I hit enter to save my measure.

To make sure I have the right function and the right user I check it by selecting my new measurement and use the “Card” Visual. Looks good so far.

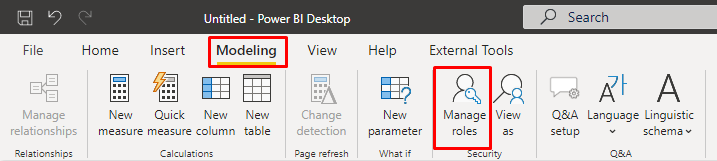
Now I have to match my user with the Excel sheet and create a Row-Level-Security. To do so I hit “Manage Roles” in the Ribbon tab “Modeling”.
I can create a new role by hitting “Create”. I rename my new role to “Region Manager” and select the three dots at RowLevelSecurity. Here I can choose which field I would like to check with the current user. In my demo the user has to match with the “Account” field so I select it.

Last but no least I have to match the Account with my new created Measure “User”. To do so write [User] – it has to be in brackets – check and save it.

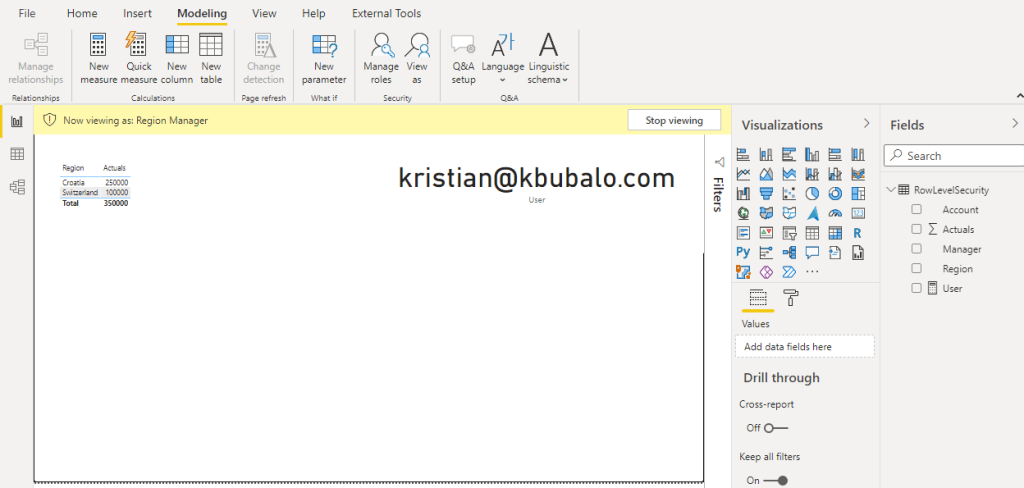
To check if my new created role works fine I hit “View as Roles” in the Modeling Ribbon.

A window pops up in which I can choose which role I would like to activate and also check what another user will see. I select Region Manager and hit OK.

To test it I create a new table visual with Region and Actuals and magic happens – it only shows my rows!
To make it 100% sure I also test another user. To do so I go back to “View as Roles” and test is as Yoda.

It works perfectly fine!

Thanks to Row-Level-Security I do not have to replicate my Power BI reports and share it with individuals to make sure who can see what!
In my next post I’ll show you how to set up RLS with a hierarchy.
Please let me know if my first post was helpful and give me some feedback. Also feel free to contact me if you have any questions.
If you’re interested in the PBIX and Excel file used in this blog post check out my GitHub repo https://github.com/PBI-Guy/blog

[…] my first blog I showed how easy it is to set up RLS in general. This works perfectly fine if you’re working […]
LikeLike
[…] my last two posts (see here and here) I wrote about Row-Level-Security (RLS) and how to configure it in Power BI Desktop. This […]
LikeLike
[…] from this country and not others. I did already a blog post about the different possibilities (see https://pbi-guy.com/2021/10/12/power-bi-row-level-security/ & https://pbi-guy.com/2021/10/15/power-bi-row-level-security-organizational-hierarchy/ & […]
LikeLike